DIY IKEA Bookcase Built In Shelves

A step-by-step tutorial for how to make professional looking DIY built-in bookshelves using IKEA bookcase sections for vertical storage.
If there is an Olympic event for building an IKEA bookcase, I think we just took home the gold medal. Because we just went all Billy DIY built in shelves crazy up in here!
Built-in bookshelves are the perfect project if you’ve ever needed more storage, wanted a way to customize a living room or playroom, and add a little extra value to your home.


Benefits of Using IKEA Billy Bookcases for Built Ins
Beginner Friendly
If you’re a home improvement novice with beginner-level carpentry skills, this is the perfect project to try since the most challenging part of building bookcases from scratch is already done for you!
Price
Standard height Billy bookcases at IKEA are $89 each (at the time of publishing this post), and I honestly don’t think you could even build a bookcase from scratch for much less than $89 in lumber.
Customizable Options
As an added perk, Billy bookcases come with lots of accessories and customizable options, like Oxberg doors, to configure your built ins however you would like for your room.
For our playroom /media room makeover, we knew we desperately needed storage in this space. Built ins are the BEST answer for that in any kids’ space to fill up with craft supplies and toys.
But paying a contractor to do the job for us was going to be way out of our budget.
DIY IKEA Billy Bookcase Built In Hacks
UPDATE: It has been over 6 years since completing this DIY built in project, and we have since built multiple IKEA hack built ins adapting the same methods in this tutorial. It just works!
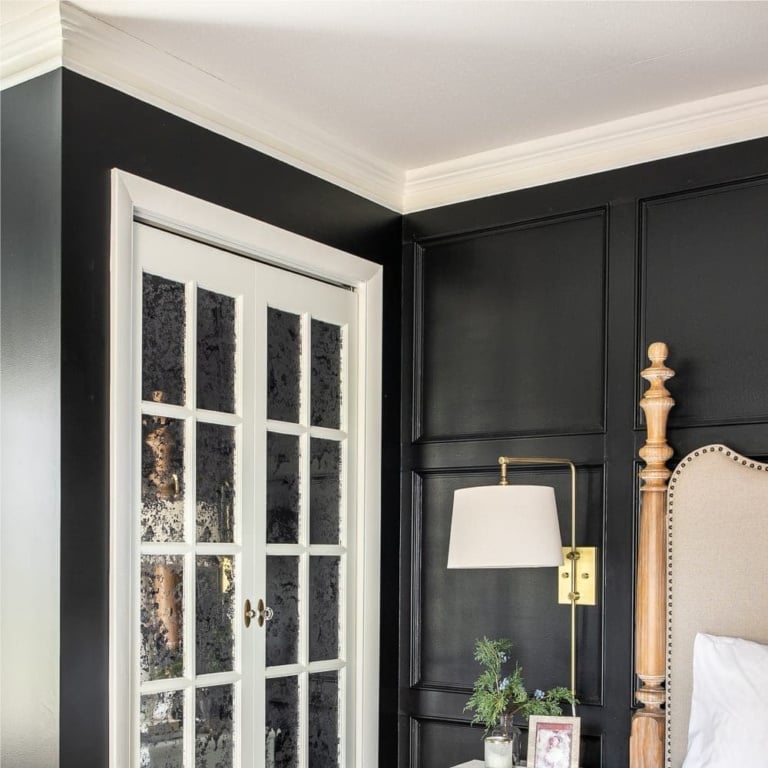
Home Office IKEA Built In Shelves With Glass Doors

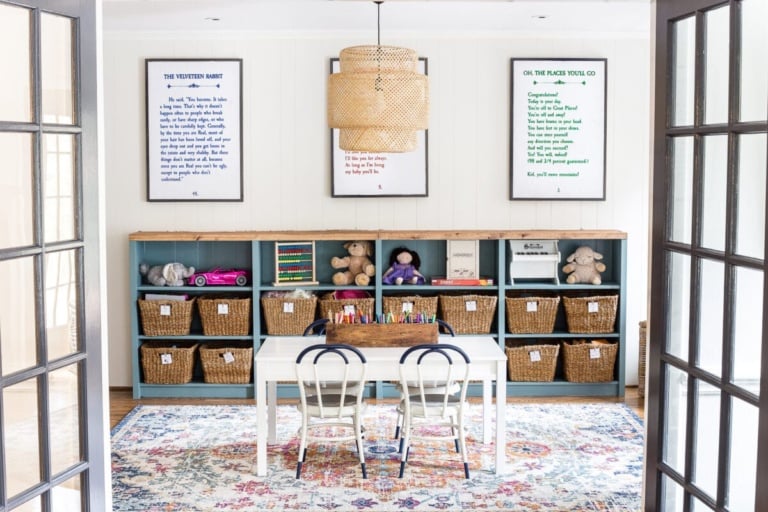
Full Wall Playroom Built-In Shelves

Half Height Playroom Built In Shelves with IKEA Bookcases

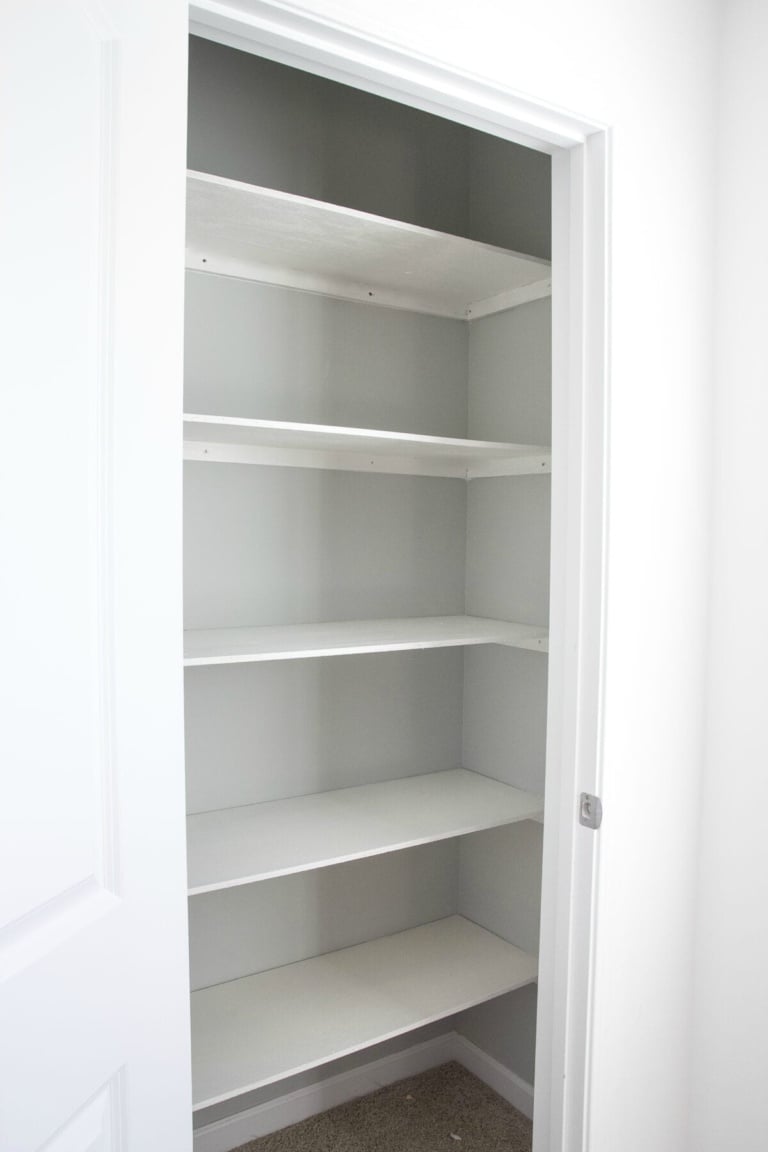
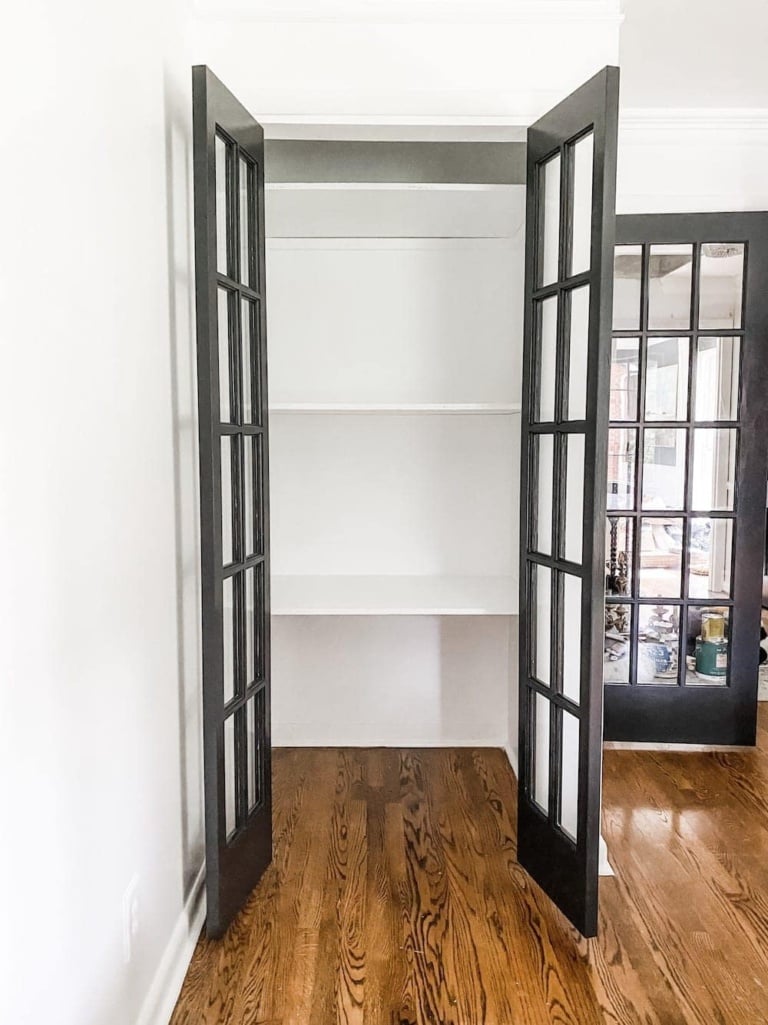
DIY IKEA Built In Closet Using Billy Bookcases

Built in shelves are beautiful in living rooms, bedrooms, home offices, playrooms, rec rooms, closets, even dining rooms.
Anywhere you need custom vertical storage is a great opportunity for built ins. They look high end, but they don’t have to cost high end.
Measuring for DIY Built In Shelves
Our playroom is exactly 214″ wide, which is the measurement I used to figure out exactly how many bookcases we would need to buy to end up with around 4 or 5 inches on each side, so if you want to do them yourself, you’ll need to crunch the numbers to decide for the size of your space.

Billy bookcases are available in 31 1/2″ wide and 15 3/4″ wide (round up to the nearest inch when calculating), so divide your wall’s width to calculate how many bookcases will fit.
Allow at least 4″ of space on either side for attaching anchor boards to build the bookcases into the wall.

How to Make DIY Built In Bookshelves
Supplies
These are the items we used, but based on your wall’s measurements, the number of items you need of each and their dimensions may vary.
- 4 32″x80″ Billy bookcases
- 4 Billy bookcase height extenders
- 2 32″x42″ Billy bookcases
- 1 16″x42″ Billy bookcase
- 8 Oxberg doors
- 2 2x4x8 stud boards
- 2 1x6x8 pine boards
- 3 1x2x8 pine boards
- 2 1x4x8 pine boards
- 3 3.25″ interior baseboards
- Circular saw
- Jigsaw
- Power drill
- 1.5″ finishing nails
- 1.5″ wood screws
- White trim caulk
- Tape measure and pencil
- Wood shims
- Square tool
- Hammer
- Semigloss paint (I took a small shelf from a bookcase to Sherwin Williams to get the IKEA white color matched. Behr Ultra Pure White matches IKEA bookcases perfectly.)
Assembling IKEA Bookcase Sections
After we went on our bookcase building bonanza (say that 5 times fast) using the IKEA instructions, we moved the bookcases around until we found the center of our wall and ended up with 4 inches of space on each side.
Once we were happy with their placement, we used the anchors the came with them to set them on the wall.

Then, we got to making them actual built in shelves.
Steps
- Make the Sides Appear Flush to the Wall
We built a box using 2×4 boards and wood screws on the right side of the bookcases since we only had a half wall to secure it to. And we mounted the 2×4 box on the wall.

- Secure the Bookcase to the Box
Using the circular saw, we cut a pre-primed 1×6 using the exact measurement of the width between the bookcase and the wall and used finishing nails to secure it to the 2×4 box. We nailed the bookcase to the box too.
- Notch the Box for the Baseboard
When cutting the 1×6, we used a jigsaw to notch out a space for our existing baseboard. We didn’t make it perfect since we knew caulk could fix the gap later.
- Make the Box Flush
Then, we measured and cut another piece of 1×6 to sit on top of the 2×4 box we made with the pieces cut to make it flush with the half wall and secured it with more finishing nails.
- Hide Gap with Face Board
We did the same on the left side of the bookcases, only instead of building a box to make a shelf like we did on the half wall, we nailed a 2x4x8 board directly to the wall and nailed up our 1×6 board on top of the 2×4 with some wood glue to make it flush with the bookcase. Then, we ran nails through the side of the bookcase to secure it to the 1×6.
- Secure Bookcases to Boards with Screws
Once the sides were done, we used wood screws at the base of the bookcases to attach them even more securely to the 1×6 boards.
- Secure Bookcases Together
And we used wood screws at the base of all of the bookcases to secure them to each other at the side of the cabinet.
- Make a Header
To connect the bookcases to the ceiling and fill in the gaps at the top, we made headers using a 1×2 piece and screwing it into the top of a 1×4 piece the same length of the bookcases’ depth.
- Cover the Ceiling Gap
Secure the header to the outside top of the bookcase with finishing nails.
- Optional: Add Traditional Molding
We did the same on the front of the header to mimic the Craftsman style molding we have around our windows. If you wanted to do the header step with a more traditional crown molding, you definitely could, but you would need a miter saw to cut the angles.

- Optional: Add Oxberg Doors
After the top was finished, we went ahead and attached our Oxberg cabinet doors to make the bottom of the bookcases like base cabinets.
- Attach Baseboard
Next, we attached our baseboard to the base of the bookcases. We ended up having to shave off a quarter of an inch using our circular saw so that the doors could close, but if you didn’t use doors, you wouldn’t have to worry about that part. (That’s why we added the doors before this step.)
- Shim Any Gaps
We ended up with some pretty big gaps at the bottom to accommodate for the doors, so we used wood shims between the base of the bookcase and the baseboard.
- Caulk Gaps and Fill Holes
Caulk like crazy. Caulk is a carpenter’s best friend, ya know. You can’t even tell there used to be a gap there.
Optional: You can also add wood filler to the holes on the side of each shelf, but we chose to leave those unfilled in case we ever want to adjust the shelf heights when we fill them with home decor. - Paint Caulk Lines and Boards to Match IKEA Bookcases
After the caulk was dry, I painted all of the caulk lines, filler spots, and boards with the semigloss paint. Behr Ultra Pure White is a very close match. It blended perfectly!


The Finished Built In Shelving
So now we have this wall full of fabulous storage possibilities where Olivia can store all kinds of toys in those bottom cabinets. Ooooh ahhhh.
These shelves are rock solid.
We still have a couple of spots we missed caulking and the stairway/ half wall side still needs to be painted, but other than that, we’re on to the next phase in this playroom.


If you’ve ever felt desperate for storage but don’t feel advanced enough in your home improvement skills to take on real cabinetry building, these DIY built ins are such a beginner to intermediate project that add so much great impact to a room.
Yay! Storage for days!
If you want to save this post for later, you can pin it here:

Frequently Asked Questions
What paint color matches IKEA white shelves and furniture?
How do you run power cords and cables through built ins to make it an entertainment center?
More IKEA Hack Ideas
- DIY Burl Wood IKEA Dresser Hack Using Contact Paper
- 5 DIY IKEA Storage Hacks We’ve Used and Recommend
- Hale Navy IKEA Office Cabinet Makeover
- 20 Inspiring IKEA Pax Closet Makeovers
- DIY IKEA Pantry Cabinet Using Hemnes